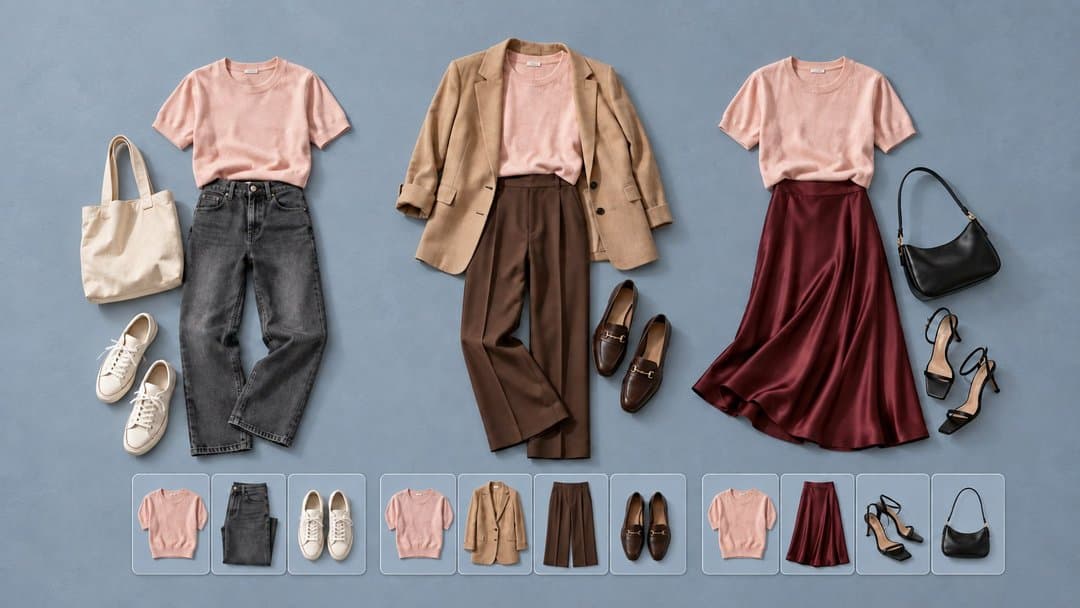
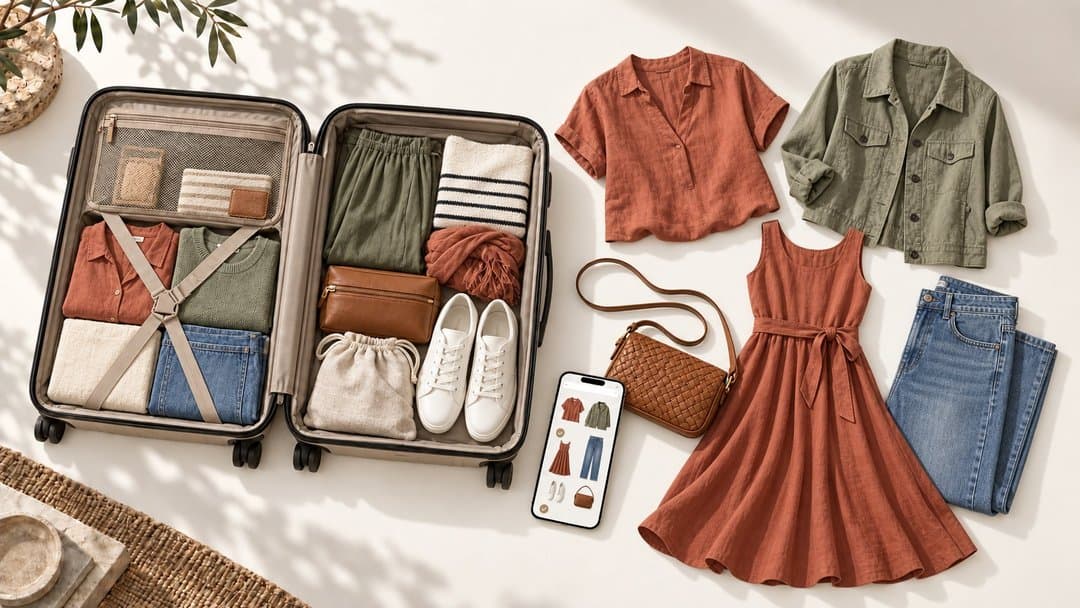
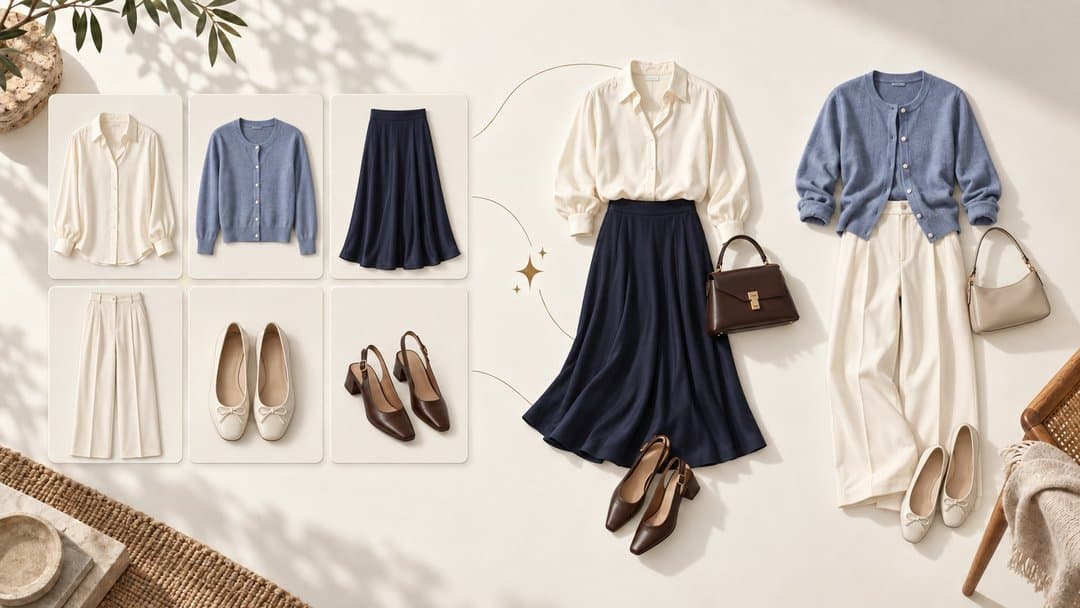
How to Create a Digital Closet Without Uploading Everything
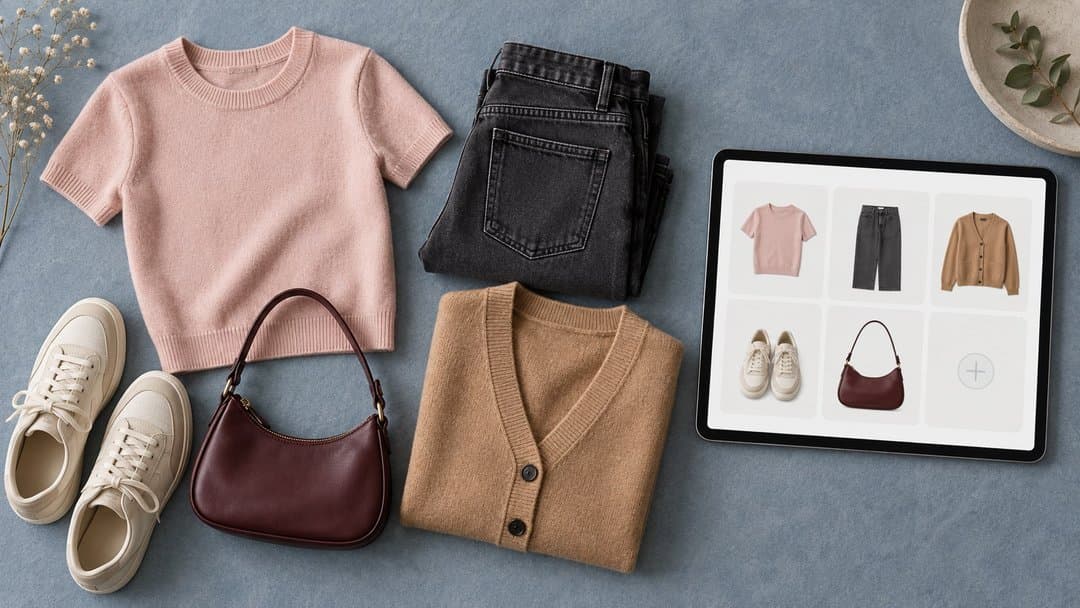
To create a digital closet, start with a small selection of clothes you wear regularly. Add a clear photo of each piece, check its basic details, and organize the items so you can find them again. Expand your collection when you need something that is missing.
You can make progress without spending a weekend photographing every drawer. Your first goal is a useful record of the clothes you reach for now.
Here’s a practical way to get started.
What is a digital closet?
A digital closet is a visual inventory of your clothing, shoes, and accessories. Also called a digital wardrobe, it usually combines item photos with details such as category and color.
You can build one in a wardrobe app or begin with labeled photos and a simple spreadsheet. Apps may offer additional features, but the basic task is the same: create a record you can recognize, search, and update.
If you’re still deciding what type of tool you need, read our guide to AI stylists and wardrobe organizers.
1. Choose what your first clothing inventory should cover
Give your first upload session a clear boundary.
For example:
-
The clothes you regularly wear to work.
-
Your current everyday favorites.
-
The pieces you have worn since your last laundry day.
Pick one group. Leave the rest for another session.
Starting with clothes you already use makes it easier to check whether your digital record is accurate. You know which pants are navy, which sweater feels lightweight, and which sneakers you actually wear.
Keep special-occasion clothing and out-of-season pieces for later unless they are the reason you’re creating the inventory.
2. Select a small, useful mix of items
Choose a first batch you can comfortably finish. Around 10 to 15 pieces is a suggested starting point, not an app requirement.
Here’s an illustrative 12-item selection:
| Category | Items to add |
|---|---|
| Four tops | Your frequently worn T-shirt, shirt, knit top, and sweatshirt |
| Three bottoms | Jeans, everyday pants, and a skirt or another bottom |
| Two layers | A cardigan and a jacket |
| Two pairs of shoes | The pairs you currently wear most |
| One accessory | A bag, belt, or another item you regularly use |
Adapt the categories to your clothes. If you mostly wear dresses, include dresses. If you use different clothing for seated comfort, a uniform, or a particular climate, let that shape your selection.
You are choosing what to record first. You are not deciding what to keep or creating a shopping list.
3. Add recognizable photos
Use one clear image per item where your chosen tool allows it.
For a simple starting photo:
-
Show the whole garment.
-
Use enough light to see its color and shape.
-
Keep other clothes out of the frame.
-
Check that you can tell it apart from similar pieces.
A photo has done its job when you can recognize the item later. You can improve the presentation another time.
If your app identifies clothing details automatically, review them before saving. Dark blue pants might appear black, or a cardigan might be assigned to the wrong category.
Avoid spending your whole first session correcting tiny visual imperfections. Fix anything that would make the item difficult to identify or find.
4. Use names and categories you will remember
Keep the information consistent and easy to scan.
“Blue striped button-down” is more useful than “Shirt 4.” If you own several similar pieces, add the detail that distinguishes them: sleeve length, fabric, fit, or a brand you recognize.
A basic record might look like this:
| Field | Example |
|---|---|
| Name | Navy straight-leg pants |
| Category | Pants |
| Color | Navy |
| Useful note | Lightweight; needs ironing |
Start with the fields your tool requires, then add details that help you make decisions. You can leave optional information, such as purchase dates or fabric composition, for later.
Use the same terms throughout. Labeling some items “pants” and others “trousers” can make your own system harder to follow if the app treats them as separate custom categories.
5. Check that the inventory works before adding more
Pause after the first batch and test three things:
-
Can you find a particular piece without scrolling through everything?
-
Can you distinguish similar items from their images and names?
-
Can you correct a detail easily?
Try looking for your everyday jacket, then a particular pair of pants. If either is difficult to find, adjust the category or name now.
This is also a useful moment to check for duplicate entries. Two photos of the same sweater should not look like two different sweaters in your inventory.
Once your records are easy to use, you have a workable foundation for adding more clothes.
6. Let everyday use guide the next upload
Open your digital closet when you need it. Notice which missing item would make it more useful.
Perhaps you look for a jacket that has not been added yet. Add that jacket next. If you want to compare your everyday shoes, upload the remaining pairs in that group.
This gives each new entry a practical reason to be there.
You can also attach a small upload session to an existing routine:
-
Add a few clean pieces before putting away laundry.
-
Record seasonal clothing when you bring it out of storage.
-
Add a new purchase when you decide to keep it.
Choose whichever routine is easiest to repeat. You do not need to use all three.
When you’re ready to work with the clothes you’ve recorded, our guide to creating outfits from clothes you already own covers building, trying on, and saving combinations.
7. Keep your digital wardrobe accurate
An inventory is useful when it reflects what is available to you.
If your tool supports status labels or notes, distinguish between items that are:
-
Available to wear.
-
Temporarily unavailable, such as clothes being repaired.
-
In seasonal storage.
-
No longer owned.
Archive or remove clothing you sell, donate, or otherwise stop owning. Update an entry if an alteration changes how the garment fits or looks.
Be careful when interpreting statistics from an incomplete inventory. A category breakdown only describes the items you have entered. If you uploaded your shirts first, it cannot yet tell you the balance of your whole wardrobe.
The same applies to wear tracking: recorded wears reflect what you logged.
Common obstacles when digitizing your closet
“I have too many clothes to finish.”
Define the next small group rather than setting a deadline for the entire closet. You might finish your current work clothes first, then add another category when it becomes useful.
“My photos don’t look consistent.”
Check whether the inconsistency affects recognition. Different backgrounds may be acceptable; an image that hides the garment’s color or shape needs more attention.
“I keep getting stuck filling in details.”
Complete the required fields and the information you actually use. You can research the exact purchase date later—or leave it blank if it serves no purpose.
“I started, then stopped for a month.”
Resume with the clothes already recorded. Correct anything outdated and add one missing item. You can continue without rebuilding the whole inventory.
Frequently asked questions
Do I need to upload my entire closet?
You can begin with a partial inventory for browsing and organizing your clothes. Check your app’s requirements for specific features. Suggestions or statistics may be limited by the items you have added.
How many items should I add first?
Choose a batch small enough to finish comfortably. Ten to fifteen pieces is one practical example, but five useful entries can be a reasonable first session.
Can I create a digital closet without an app?
Yes. A photo folder with consistent filenames and a spreadsheet can provide a basic clothing inventory. Dedicated wardrobe apps may make browsing and updating easier, depending on their features.
Should I photograph clothes or complete outfits?
Use individual item photos for the clothing inventory. Complete outfit photos serve a different purpose: remembering how you wore those pieces together. Keep both if they help, but label them clearly.
Start with the clothes you reach for
Choose a small group, add recognizable photos, and check that you can find each piece again. That is enough for your first session.
As you use the inventory, let missing items guide what you add next. Your digital closet can grow alongside your routine.
Explore Modesona and start with the clothes you already own.